I'm glad that people started to think about the privacy more than ever
In this post I'll share my experience of configuring pi-hole and Cloudflare DNS-over-HTTPS on Raspberry Pi using docker-compose. Before we dig into the configuration a few words what it's all about
UPD: Post has been updated with newest version of pi-hole
DNS-over-HTTPS(aka DoH)
It's a protocol allowing internet users to retrieve IP information about the internet website(perform DNS resolutions) using a secure connection to the DNS server which supports DoH.
So why is it important?
I hope I won't surprise you that your internet provider really wants to know what you're visiting. For different reasons - for statistics, for advertisement, to collect your data, inject advertisement, etc. In 2020 most of the internet websites are working via HTTPS. That means providers can't change and see information sent between your computer and remote server because it's encrypted. Even better - internet provider can't hijack into your connection, and for example inject advertisement or install malware.
The problem is, before your computer connects to the server the domain needs to be "translated" into the IP address and here we have an issue. Classic DNS designed to be really quick and some tradeoffs had been done. For example DNS traffic can be hijacked, or DNS cache poisoning can be performed. Those attacks which can't guarantee that your computer talks to the genuine server even it's using HTTPS.
Unfortunately, DNS hijacking is not only "hacker" thing, many internet providers and "big brother" type of systems often use those techniques to gain something valuable. Checkout post about Virgin Media UK-based ISP doing those nasty things.
Ok ok, I'm scared. What is the solution?
If you trust, for example cloudflare(you need to trust somebody!) then it's possible to use their DoH service. Read below to learn how to make the whole network use it
pi-hole - sink for the advertisement
Pi-Hole is a community-led project which basically provides a dns server with a blacklist of the advertisement domains and nice web interface to manage it. No magic there - it simply takes your DNS requests, checks if the domain is blacklisted and if it's not - forwards request to the upstream DNS server of your choice.
I have it enabled only against web crypto miners and popunder-type advertisement
Cloudflare DNS-over-HTTPS + pi-hole = ❤️
What a great friendship! Pi-hole will carefully filter advertisement domains and route all requests into the cloudflared DoH server. Having docker-compose file makes it work literally in a few clicks.
Prerequisites:
- Raspberry PI - I have RPi4. Technically it could be any always-on computer, or ever router but it would require additional configuration
- Docker machine configured for your raspberry - follow this guide
- Static IP for your raspberry must be configured. Normally it's done via web interface of your router.
- 5 mins of your time
Get this docker-compose.pihole.yml file:
version: "3"

services:
  cloudflared:
    container_name: cloudflared
    image: visibilityspots/cloudflared
    restart: unless-stopped
    networks:
      pihole_net:
        ipv4_address: 10.0.0.2

  pi-hole:
    container_name: pi-hole
    image: pihole/pihole:v5.0
    restart: unless-stopped
    hostname: pihole
    ports:
      - "80:80/tcp"
      - "53:53/tcp"
      - "53:53/udp"
    volumes:
      - "/config/pihole:/etc/pihole"
      - "/config/dnsmasq:/etc/dnsmasq.d"
      - "/dev/null:/var/log/pihole.log:ro"
    environment:
      - DNS1='10.0.0.2#5054'
      - DNS2='8.8.8.8#53'
      - IPv6=false
      - TZ=Europe/London
      - DNSMASQ_LISTENING=all
      - WEBPASSWORD=admin
      - PIHOLELOG=/dev/null
    extra_hosts:
      - "printer.mynetwork:192.168.5.33"
      - "router.mynetwork:192.168.5.1"
    networks:
      pihole_net:
        ipv4_address: 10.0.0.3
    dns:
      - 127.0.0.1
      - 1.1.1.1
    cap_add:
      - NET_ADMIN

networks:
  pihole_net:
    driver: bridge
    ipam:
     config:
       - subnet: 10.0.0.0/29
Params to note:
- WEBPASSWORD - envinroment variable allowing you to set password for web admin panel
- array extra_hosts - here you can set custom hostnames for devices on your local network. For example,
printer.mylan:123.123.123.123if your printer has a static ip address assigned. - DNS2 - is a fallback dns server in case your cloudflared daemon dies somehow. I set to google’s 8.8.8.8
Fire it up!
➜ eval $(docker-machine env myrpi)
➜ docker-compose -f docker-compose.pihole.yml  up -d
That's it.
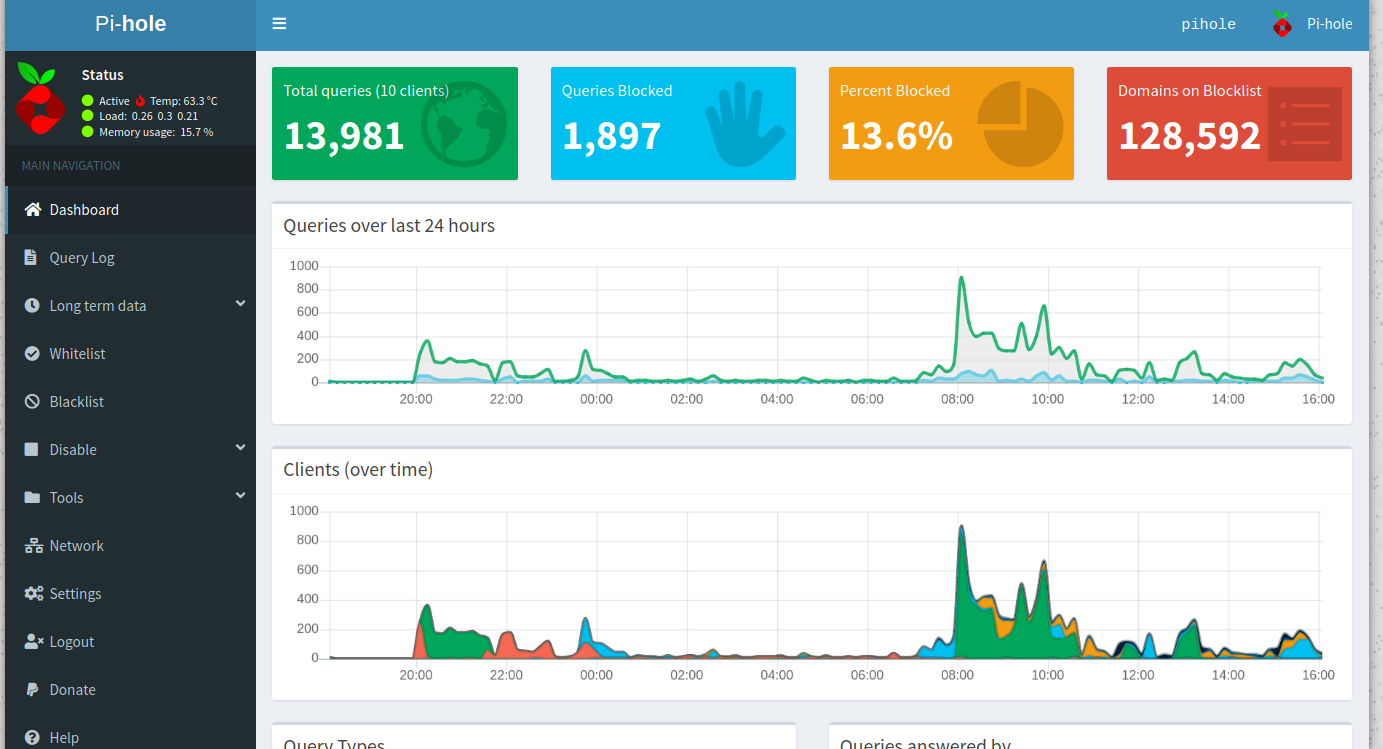
Soon you'll be able to access http://your_router_ip./ and see welcome message from the pi-hole
And the last step:
- set your computer dns to the ip address of your router, make sure everything is working. You'll be able to see requests sent from your computer.
- if you happy, go ahead and update DNS settings for the router, it should point to the raspberry pi IP address.
💥 Just a reminder: since your network now depends on the raspberry make sure it's always on otherwise nobody in your household will have Internet access :)
Done. Sleep well without worying that your internet provider is intercepting or hijacking your DNS internet traffic. From the point of view of ISP you suddenly stopped accessing all Classic DNS, it's because you're using DoH
