
In this post we will setup and configure Rasbian for your RPi to be instantly available via local network and without screen on the linux or mac system. Those steps should be appliable to any Raspberry PI version
To start with we need a few things:
- Raspberry PI itself
- 8Gb+ SD Card, class 10 at least
- Ethernet cable to connect RPi to the router
- Downloaded Raspbian Lite zipped image
NOTE: This guide is for Linux users, I'd speculate that different with mac would be minimal but only Apple knows. Give it a go or for instructions for another OS check the official installation guide
Installing OS
There are few steps:
- Locate sd card - in this example it's sdc
➜  dmesg | tail
[308442.076711] usb-storage 2-4:1.0: USB Mass Storage device detected
[308442.076870] scsi host3: usb-storage 2-4:1.0
[308443.089495] scsi 3:0:0:0: Direct-Access     Generic  STORAGE DEVICE   0819 PQ: 0 ANSI: 6
[308443.090009] sd 3:0:0:0: Attached scsi generic sg2 type 0
[308443.571095] sd 3:0:0:0: [sdc] 125042688 512-byte logical blocks: (64.0 GB/59.6 GiB)
[308443.571628] sd 3:0:0:0: [sdc] Write Protect is off
[308443.571641] sd 3:0:0:0: [sdc] Mode Sense: 87 00 00 00
[308443.572295] sd 3:0:0:0: [sdc] Write cache: disabled, read cache: enabled, doesn't support DPO or FUA
[308443.576743]  sdc: sdc1
[308443.581724] sd 3:0:0:0: [sdc] Attached SCSI removable disk
- Write downloaded raspbian image to the flash drive.
Note: you need to change sdXXXXX with your sd card device name(from example above - sdc). Warning: providing the wrong device name may destroy your hard drive, it's not a joke.
➜  unzip -p 2019-09-26-raspbian-buster-lite.zip | sudo dd of=/dev/sdXXXXX bs=4M conv=fsync

0+33279 records in
0+33279 records out
2248146944 bytes (2.2 GB, 2.1 GiB) copied, 36.0719 s, 62.3 MB/s
- Sync to flush buffers so memory card can be safetly removed:
sudo sync
- Remove and insert it back. Your computer should be able to locate a
bootpartition - Since we want to access RPi remotely even without screen SSH server needs to be enabled. For that create a
sshfolder inside thebootdirectory. - We are done! Unmount the sd card and plug it into the your Raspberry.
Booting up
Connect your RPi to the network. I plugged it into the router via ethernet cable - that would give me the maximum possible network throughput. Connect power and wait it to boot.
If everything went well soon you'll be able to locate your freshly backed pi on the network, in linux you can use nmap to discover devices on network
root@fake:~# nmap -sP 192.168.42.0/24
Starting Nmap 7.80 ( https://nmap.org ) at 2020-01-11 11:34 GMT
Nmap scan report for internet.router (192.168.42.1)
Host is up (0.0049s latency).
MAC Address: 84:47:11:23:43:ED (Banana Technologies)
. . . .
Nmap scan report for raspberrypi.router (192.168.42.111)
Host is up (0.0016s latency).
MAC Address: DC:A6:32:XX:XX:XX (Raspberry Pi Trading)
. . . .
From the log output above it's clear that my RPi was given 192.168.42.111 IP address. It's not coincidence - I simply pinned it's mac address in my router's DHCP settings.
Connect to your RPi
➜  ssh pi@192.168.42.111
pi@192.168.1.111's password:
Linux raspberrypi 4.19.75-v7l+ #1270 SMP Tue Sep 24 18:51:41 BST 2019 armv7l

The programs included with the Debian GNU/Linux system are free software;
the exact distribution terms for each program are described in the
individual files in /usr/share/doc/*/copyright.
. . . .

pi@raspberrypi:~ $
Whola!
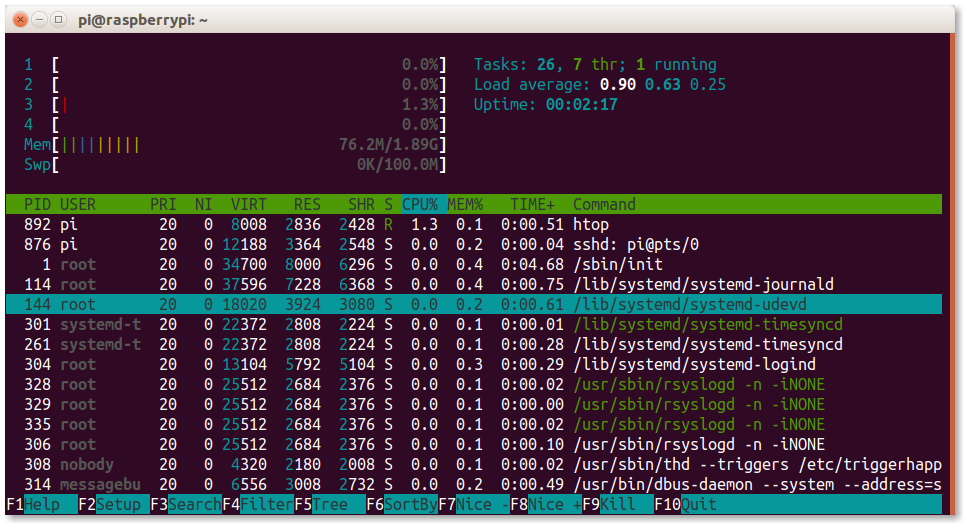
I've got Raspberry Pi running and available via SSH even without monitor!
This is a prerequisite for next post - setting up docker-machine in RPi
